Mr. Vela's Class
  • Home
  • Intro to SMBX
  • SMBX Tutorial Videos
  • Kodu Game Lab

​Daily Directions

ATLAS
Code.org
Office 365

Making Logos, part 1

3/21/2018

 
Objectives:
1.  Students will use PowerPoints tools to create a logo using text that is engaging and creative.
2.  Students will discuss the principles of design by comparing different t-shirt designs.
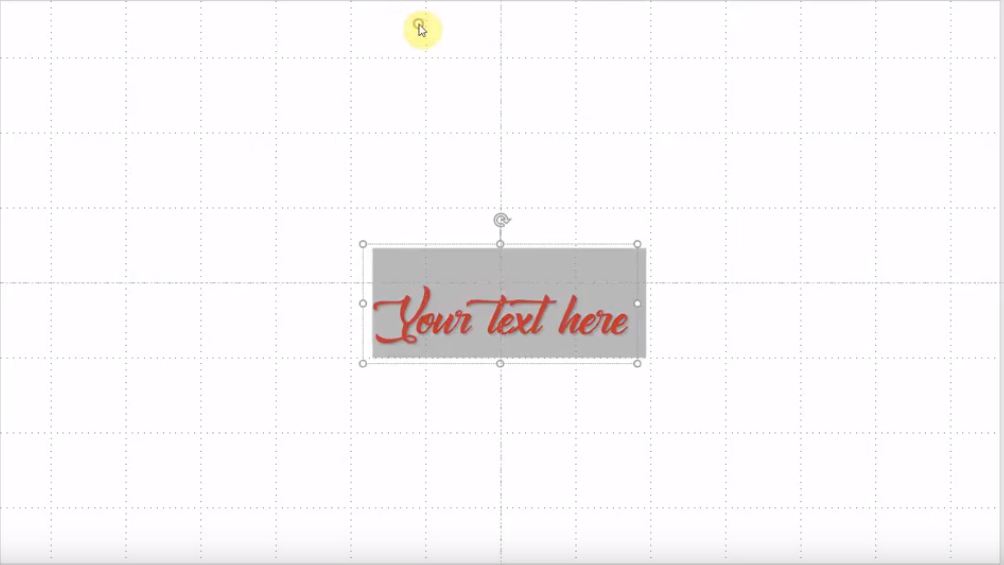
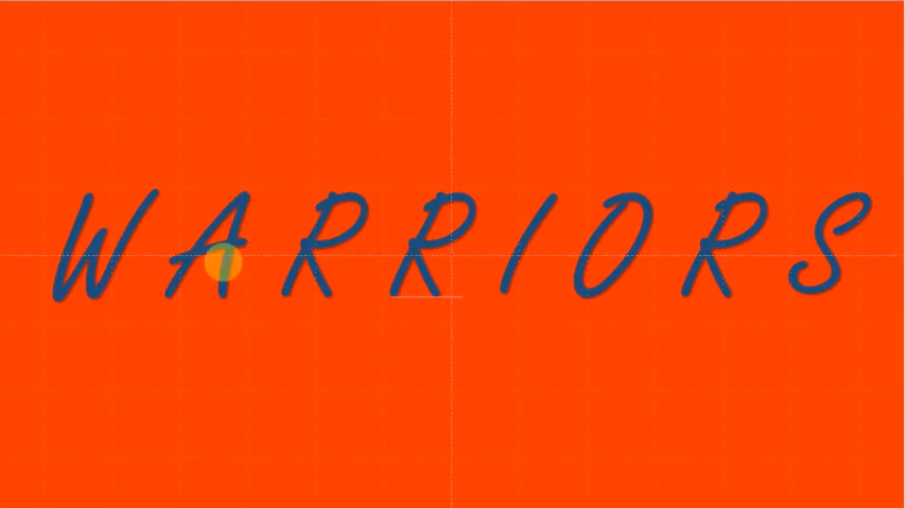
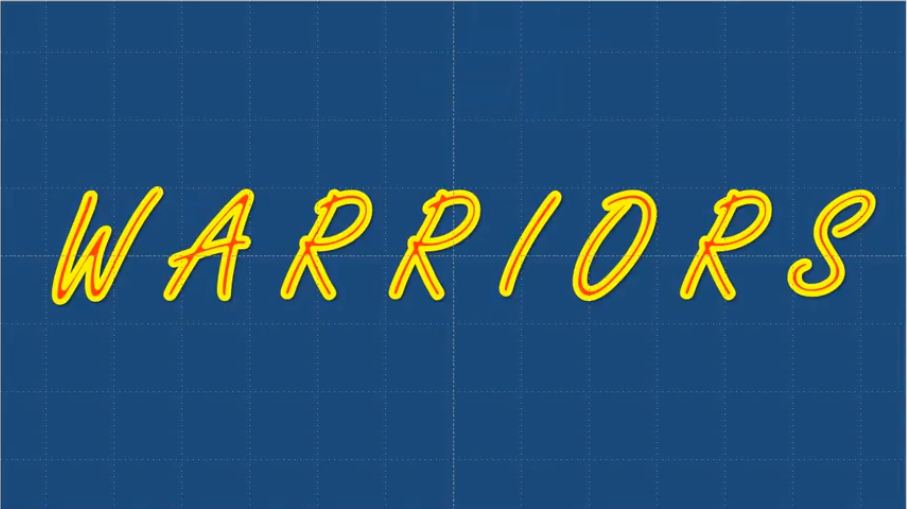
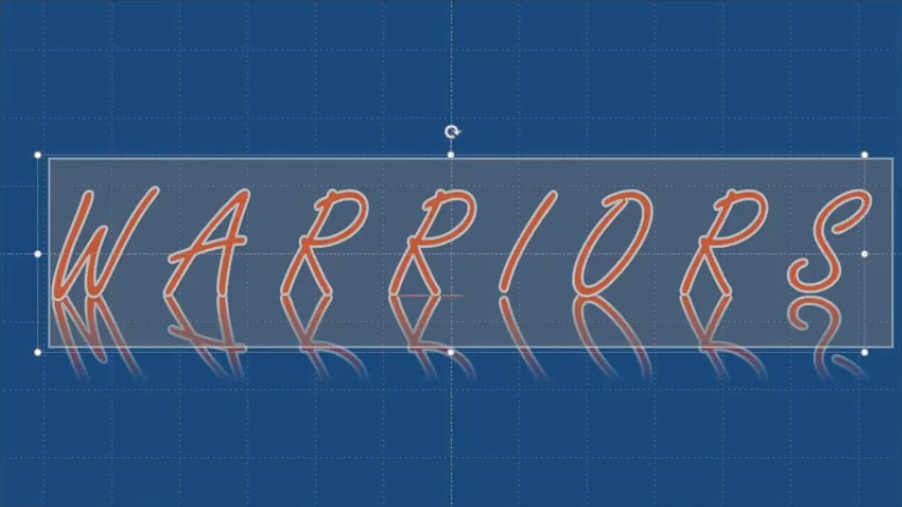
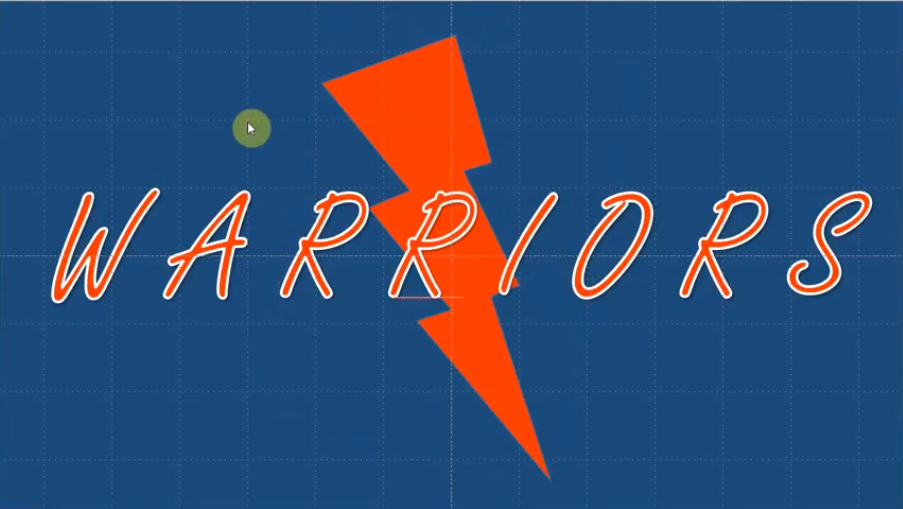
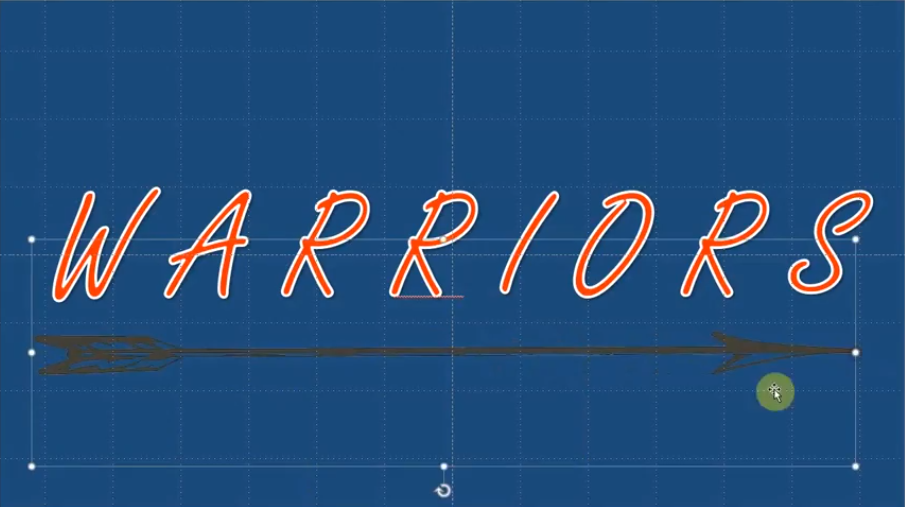
Today's Lesson:
Hello, today you will start creating a logo using text.  You'll learn how to manipulate text and background to create engaging word logos.
Picture

Step 1:  Open up PowerPoint


Step 2:  Create 2 logos on the same PowerPoint.
        --One with your first or last name.
​        --One with a word of your choice.
        --Click on the videos to guide you through.

Setting up Gridlines and Guides
Picture
Inserting Text
Picture

Changing font color and size
Picture
Changing the color of the background
Picture

Adding outlines to your text to make it pop
Picture
Adding text effects (shadow, reflection and glow)
Picture

Adding shapes
Picture
Adding pictures from the internet
Picture

Step 3:  Exit Ticket

​Leave a comment and tell me...

1.  How satisfied are you with your design?  Why or why not?
2.  What logo elements did you use (words, images, shapes, graphics, photos)?


Step 4:  Upload your document to One Drive

  1. Click here to go to Office 356.
  2. Click on the One Drive icon.
  3. Click on "Upload" and then select "File"
  4. Find your document in "Documents" and click "Open"
Picture

Step 5:  Share your document with Mr. Vela

  1. In One Drive, click on your document.
  2. Click on "Share" on the top left
  3. Type my name "Hugo Vela" and click on my name.
  4. Click on "Send."
Watch this video if you want to see how to Upload and Share on One Drive

Proudly powered by Weebly
  • Home
  • Intro to SMBX
  • SMBX Tutorial Videos
  • Kodu Game Lab